December 6, 2011

Date Make Up

Hello everyone!

FINALLY(!!!!!) I made a tutorial with help from my amazing friends!


This is what I would wear on a date, both day and night time. It is a very simple and elegant look with clean and romantic colours. I love this look and if I dont know what to wear, I'll wear this..

I hope you like theese kind of pots, because there will come a lot more, if you want to see them. 

You will need:

  • Concealer
  • Powder
  • Bronzer
  • Blush (cream blush, pinky colour)
  • Liquid Eyeliner
  • Mascara
  • Lip Stain (in a rosy colour)
  • Lip Balm 

STEP ONE
CONCEALER


Apply concealer under your eyes and on any discolourration(around your nose and on the chin) using your ring finger.
I used Bobbi Browns Creamy Concealer in 'Porcelain' and Creamy Corrector in 'Pocelain Bisque'


STEP TWO
POWDER

Dust your favorite powder all over your face in circular motions to set your concealer and even out your skin tone.
I used MAC Mineralize Skin Finsih Natural in 'Light Medium'


STEP THREE
BRONZER
  
Apply bronzer in the "3 / E motion" starting at the side of your forhead moving down to the side of your cheek and finally ending right beneath your chin. Do the same thing i both sides.
I used ELF Contouring Blush & Bronzing Powder


STEP FOUR
BLUSH


Apply cream blush to your cheeks blending outwards towards your hairline.
I used Bobbi Brown Pot Rouge for Lips and Cheeks in 'Powder Pink'.


STEP FIVE
BROWS

Fill in your brows with a light matte eyeshadow to define them a little bit.
I used NAKED from the Urban Decay NAKED Palette.


STEP SIX
EYELINER


Apply a thin line of liquid eyeliner, that is thicker on the egde and thinner as it goes in towars your nose.
I used LÓREAL Super Liner Carbon Gloss


STEP SEVEN
CURL AND MASCARA


Curl your lashes and apply your favorite volumizing mascara to your top lashes only.
I used ELF Eyelash curler and Maybelline The Falsies Volum Express in 'Black Drama'.


STEP EIGHT
LIP STAIN AND LIP BALM


Apply your favorite lip stain and lip balm to your lips.
I used Benefit benetint and EOS Lip Balm in 'Summer Fruit'

This will not transfer if you kiss your date ;-)


STEP NINE
FACE MIST

Spray face mist on your face to set your make up so it last on the entire date.


You are now done and ready to your date with a pretty + polished face!


Good luck!

XOXO

Camille 


November 27, 2011

Creative Project

Hello everyone!


Soo.. A couple of weeks ago we had a creative project at my school. The students were in charge, and should write and produce everything by our self. It was an amazing experience and fun to try something new and different, because we are not normally very creative at this school.

All of the actors that should be in the spotlight on the stage had to wear make up and I was lucky enough to get to help the teachers in the make up room. YAY!!!! It was SO cool and I was totally excited about it.

I only have pictures of one of the girls, I did make up on. Her name is Mathilde and she has amazing style and a awesome fashion blog. ! Take a look at it!


Much love,

XOXO

Camille  

October 21, 2011

Highlighting & Contouring 101

Hello everyone!


So for a little while I've been thinking what to do on the blog, and I came across this idea!
It's not something that I use everyday at all, but it is nice to know, when you are doing your makeup, either a party or just for fun. It really can transform your face shape and features. 


Below, on the two pictures, you can see what I'm talking about.

Highlighthing & Contouring 101
Where, what and how?


Rule #1 : Darker colors push back areas while lighter colors bring them forward.

What You Will Need
* To contour, you will need a color that is one to two shades darker than your foundation or powder. You can use a brown eyeshadow, bronzer or a darker foundation. I prefer a matte or very little to no shimmering bronzer. This will look the most natural.

* To highlight, you will need a color that is one to two shades lighter than your foundation or powder. You can use a shimmery white/beige eyeshadow, a lighter foundation or a highlighter.

* I highly recommend using pressed powders or liquid formulas as they are the easiest to use. Remember to pick a color that is neutral, i.e. one that is not too yellow or too pink.


Areas to Highlight

* Front of the forehead
* On the bridge of your nose
* Right above your cheeks
* Inner corner of your eyes
* Browbone
* Center of your chin
* Cupid’s bow (above your lips)

So are contouring and highlighting necessary for everyone? No but everyone can definitely benefit from a little contouring and highlighting. All you need is practice and make sure everything is well-blended (seriously, who would want lines on their faces?!)

Contouring and highlighting also look best under evening lighting so if you are going to be in an environment with really bright light, I would recommend keeping it to a minimum.

Some of my favorite highligthers are:

MAC Mineralize Skinfinish in 'Soft and Gentle', which you can get here.
This is a powder highlighter in a light golden colour.
Benefit 'High Beam' which you can get here.
This is a pinky toned liquid highlighter.


Areas to Contour

* Under your cheekbones
* Along both sides of your nose
* Bottom of your chin
* Jawline
* Creases of your eyes
* Temples (the sides of your forhead)


Some of my favorite contour/bronzing powders are:


You start off with just foundation, concealer and powder on your face. (or maybe as I do, only with powder and concealer)

ELF 'Blushing and Bronzing Powder', which you can get here.
It has the perfect bronzed colour with a tiny bit of shimmer and suits many skin tones.

MAC 'Harmony' Powder Blush, which you can get here.
The medium matte brown colour makes it easy to contour naturally with.


Then now, you would maybe use a bronzer, to warm up your complexion a bit. BUT! Now to the fun(and a little tricky part)


Take your bronzer or what ever you are using, and lightly dipping your brush in the product(remember to tap off the excess, the same goes with eyeshadow!!! That way you wont get too much on, it's always easier to build up the colour than removing the entire thing) and apply it, the places thats darker on the photo.


Do the same thing with highlighter, just with a light eyeshadow, highligther or whatever you'll find in you makeup bag, thats lighter than your skintone, and apply it where the lightest areas on the photo is. Sometimes when I highlight my eyes, I like to use a white eyeliner as a base so the highlight is more visable.


I hope you found this post useful somehow. Its just the basics of this subject, and I can maybe do a full-face-makeup tutorial with everything that belongs to that.


Good luck!


Much love and XOXO,

Camille


September 22, 2011

Chocolate for the face?!

DIY: Chocolate Face Mask!

Hey everyone!

So.. Here is a fun DIY face mask, with chocolate!

Cocoa is high in anti-oxidants which help the skin to fight against free radicals. There are a few 'Chocolate' skincare products in the market but they are quite hard to find. Why not make your own mask and treat yourself?

As with all nutritive sweeteners, honey is mostly sugars and contains only trace amounts of vitamins or minerals. Honey also contains tiny amounts of several compounds thought to function as antioxidants, including chrysin, pinobanksin, vitamin C, catalase, and pinocembrin.

Yoghurt is nutritionally rich in protein, calcium, riboflavin, vitamin B6 and vitamin B12. It has nutritional benefits beyond those of milk. It moisturizes the skin alot.(yay!) 

(The point is, that honey, yogurt and cocoa is really great for your skin!)

I love making my own masks because it's so much fun and gives great results but remember that results don't happen over night. You must be consistent and patient.

Let's get going!

Here is what you'll need:

  • 2 spoons of cocoa powder

  • 2 spoons of yogurt (organic if you have it, if not it's okay)

  • 1 spoon of honey (organic if you have it at home, if not it's okay) 

  • A small bowl to mix the mask


STEP 1

Put the cocoa, yogurt and honey in the bowl


STEP 2


Mix it well, until the mixture is smooth


STEP 3

Put the mixture on your clean and makeup-free face(!!!)
(the mask works better with clean skin),
until you have a even layer on your face, except your eye- and mouth area.


STEP 4


Let the mask sit for 20-25 minuttes before you rinse it off.
Remember to continue with the rest of your usual skincare routine. 
Enjoy!


I really hope you try out this fun mask, it really does soften and moisturezes your skin!
Take care and stay beautiful!

 
XOXO

Camille


September 16, 2011

You need to.......

You need to.... Love yourself!


I don't wan't to write too much, the videos talk for them self, all I want to say is nobodys perfect. Just watch theese videos and give it a little thinking, because you are amazing just the way you are!


Litsen to the lyrics thoughout the songs! You don't have to litsen to all of them if you don't wan't to.


PS! New posts are coming this weekend! I have some ideas and some spare time, so I can finally make some tutorials.

Disclamer: I do not own any of the videos! They were all found on youtube!

XOXO

Camille

August 8, 2011

DIY: Easy Marbling Nails!


Hey everyone!


I havent blogged in forever (I'm so sorry!), my camera died and I havent been able to find any new batteries, but I think my dad finally found some! These pics are shot with an iPhone so the quality is not the best, but I hope you get the idea of how to do these cool nails!
So, a couple weeks ago I found this really  cool way to change up your nail polish super easy!

Today I finally tryed it out and thought I should to a tutorial on it. You can totally do this with all your nails if you want, I just didnt have the time so I only did my ringfinger as an accent nail.

The things you will need:

Minimun 2 differnt nailpolishes

A plastic container with water in it
A needle - or something else shap
  
Cotton pads - to remove the remove rest of the nailpolish


Tape - To avoid getting nailpolish all over your finger


STEP 1
 
Find all the things you'll need. It will make the result way prettier and so much more easy not to mess it up, trust me, I did that the first time I tryed.. Well lets say it did'nt look so good.


STEP 2


Choose one of your nail polishes and let it drop in the water.
The polish is going to spread a part - I found that it will only work with thin nail polish. If you use a thicker polish it will not spread - it will just stay.

Keep dropping nail polish in the water on top of the drops your already have, and continue doing that until you have a good amount of nail polish.


And at a point it should look like this.


STEP 3


Find your needle and start dragging
the colours together to create
the marbling effect.


Soon you will see the pattern form.


STEP 4 


Dip your finger in the polish and hold it in for about 10 sec. 
Then, with your other hand, 
take a the cotton pad and 
remove the polish around your finger. 

If you skip this step it will ruin the pattern. 


STEP 5


Carefully, lift your finger from
the water and see the result!


Wait 5 min. for it to dry, 
and remove the tape!

If there is nail polish on your finger go ahead and remove it wth some nail polish remover.  


I really hope you enjoyed this little tutorial, trust me - I have a lot more on the way!


XOXO,
Camille


May 5, 2011

Wise Words from.....

Audrey Hepburn!


I just read this, and she is so right! Read it, and let me know that you think! 

“For attractive lips, speak words of kindness.
For lovely eyes, seek out the good in people.
For a slim figure, share your food with the hungry.
For beautiful hair, let a child run his or her fingers through it once a day.
For poise, walk with the knowledge that you never walk alone.
People, even more than things, have to be restored, renewed, revived, reclaimed and redeemed; never throw out anyone.
Remember, if you ever need a helping hand, you’ll find one at the end of each of your arms. As you grow older, you will discover that you have two hands, one for helping yourself, the other for helping others.
The beauty of a woman is not in the clothes she wears, the figure she carries, or the way she combs her hair. The beauty of a woman must be seen from in her eyes, because that is the doorway to her heart, the place where love resides.
The beauty of a woman is not in a facial mode, but the true beauty in a woman is reflected in her soul. It is the caring that she lovingly gives and the passion that she shows.
The beauty of a woman grows with the passing years.”


XOXO

Camille


May 2, 2011

Want fresh & soft spring skin?

All right... I've havent made a blog post in soooo long... Sorry.
Soo here is a recipe that I swear by all year round, but specially in the spring and summer time! Its is a scrub that you can use 2-3 times pr. week depending on how your skin is. This recipe is gentle, but rough enough to scrub away dead and dull skin! Enjoy your spring!
Lets get in to the DIY!


What you'll need is:

  • A cutting knife
  • A small bowl
  • Half a lemon (great if it is organic)
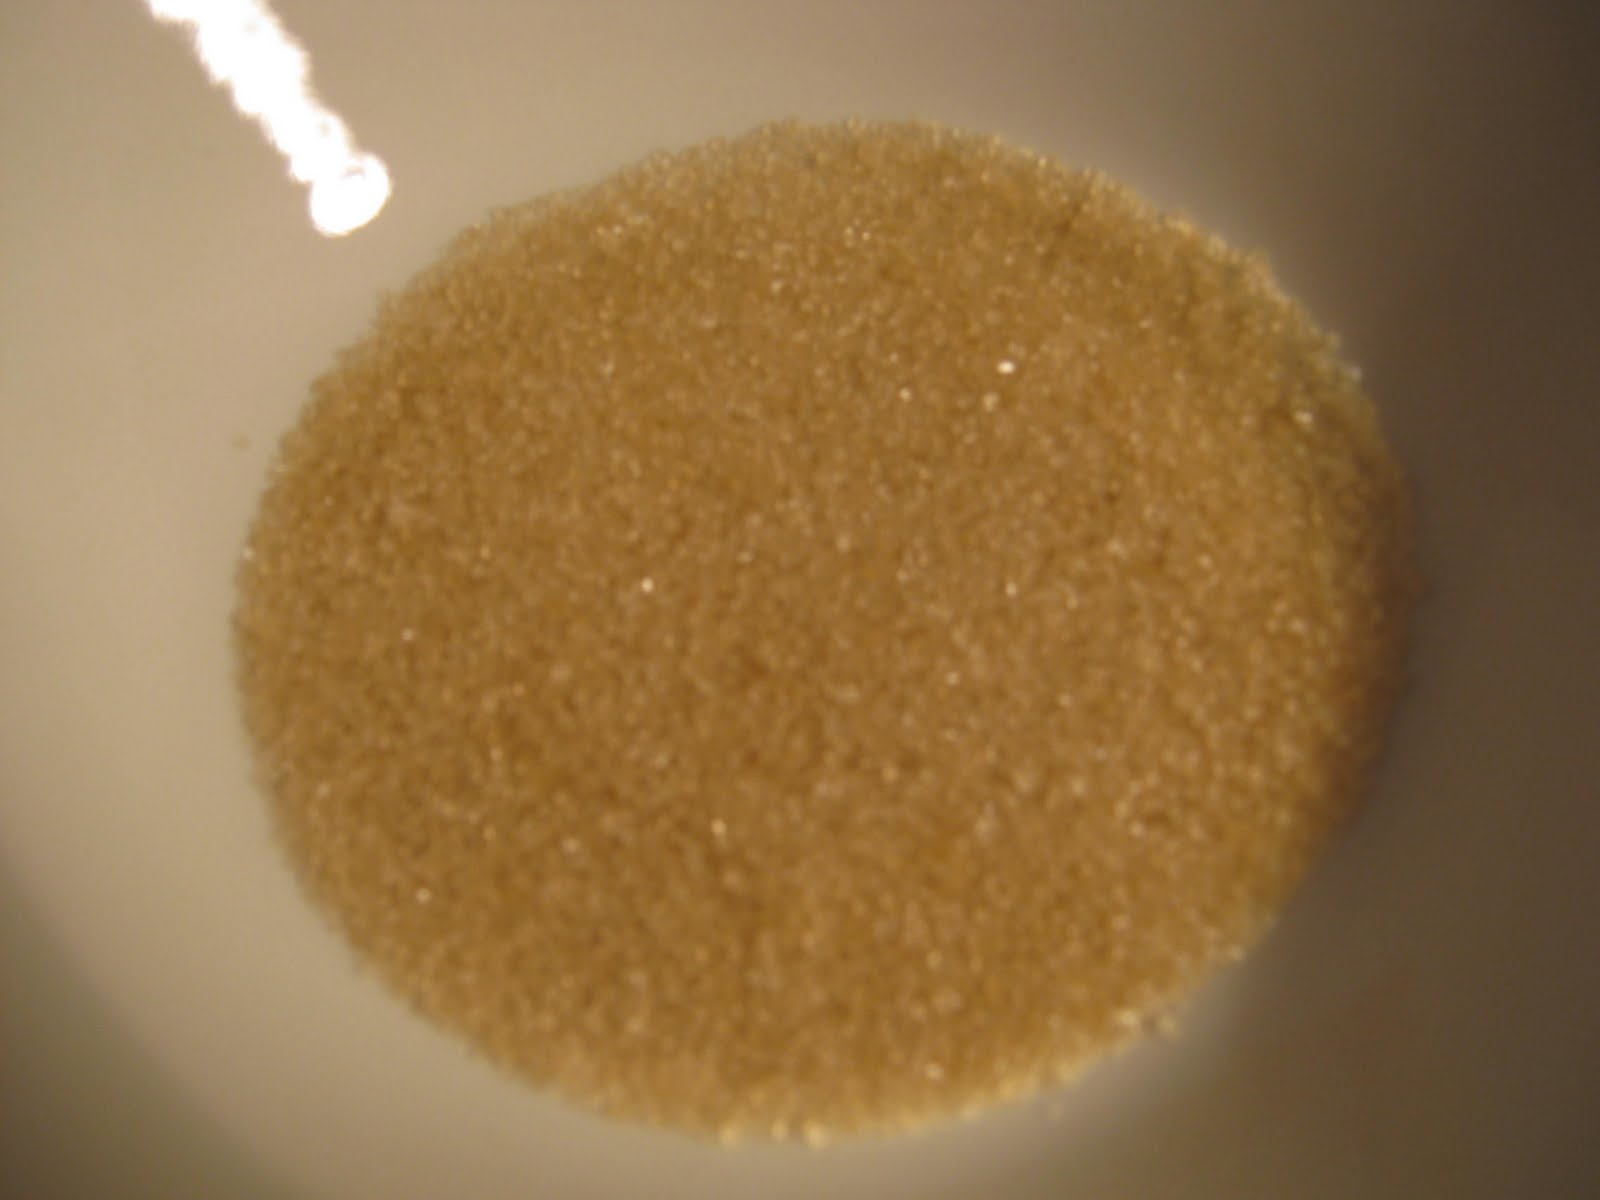
  • Some granulated sugar (also organic if possible)
  • A cotton ball


STEP 1
Poor some sugar into a small bowl


STEP 2 
Cut the lemon in half


STEP 3
 Sqeeze the half lemon into the sugar until wanted texture is done


STEP 4
Mix it all together with you'r fingers or a spoon

STEP 5 (only if you do the scurb at night)
Clean off any eye- and facemakeup

STEP 6
Soake the cotton ball in the mixture and sqeeze some out if its to wet


STEP 7
Move the cotton ball in small cicular motions pressing lightly 
and rinse off after 2 min doing this
(FYI: This is not me, its my sister. She was friendly enough to let me take a picture of her doing this with me :D)

 
STEP 8
Gently pad your face dry with a soft towel and put on your favorite mosituriser and your DONE!


You should now have soft, smooth, mositurezed skin! I hope you try this recipe out and if you do, let me know how it works out for you!

XOXO

Camille


February 22, 2011

HEARTBEAT

HEARTBEAT
HEARTBEAT by camillehearts on Polyvore.com

this is a project me and a friend are doing right now, about emergency aid. It is really interesting.


February 8, 2011

My New York and Spring must haves!

Hello everyone!


So.. I'm going to New York.. Big Apple... NY... Whatever you want to call it, on spring break for a week and a half. I'm soo excited too go. I have never been to NY or USA, for that matter before so of course I thought of that to buy then I get over there.. And I made a little list all ready. Ha ha!


Can you feel the excitement yet?


Well here some of the hings I think, I will be getting then I get over there.


I've falling in love with Bobbi Browns makeup books and got me hooked on a few of the produkts.


The first one is the is the famous "Creamy Corrector". I've allways had a problem with undereyes circels, the skin under my eyes is super thin and my skin is very light as an overall so it dosent make it any better. So this is definitly something I HAVE to get! 


Corrector is great for undereyes circels, because it have eihter a pink or peach tone to it, so it will neutralize the blue or purple underneath your eyes. Apply this with either your clean fingers or a concealer brush but blend after with your finger for a smooth and natural look.


Actually then I think about it, all these things are bacis. Well the Bobbi Brown things are definitly, but I have allways thought that the bacis are the items I want to spend a little more on, because it is things that I will use everyday so that is why all the Bobbi Brown stuff, and I'm going to get colour matched so I get the right colours, since the produkts is so pricey.


This next item is the "Creamy Concealer Kit". It contains a creamy concealer and a loose yellow-toned setting powder. The concealers job is to conceal any redness or dispigmentation. This is also applyed with eihter a concealer brush or your clean fingers around the nose, mouth and under eyes if needed after corrector. Set it with a loose yellow-toned powder for erasing redness. 


The third thing is one of my favorite things! You have maybe read my Winter faves, if not, go read it! hee hee. Well I mentioned a cream blush from MAC in Lady Blush. I looove it, and want to try a new one, since they are discontinueing the one from MAC.

It is the "Pot Pouge For Lips And Cheeks". This is a creame blush and coloured lipbalm or lipstick in one! SO nice! This is great for spring ans summer. It gives the skin a natural dewy finish and will make you look fresh and awake. This is applyed with eihter your fingers og a foundation brush. I recommend applying with fingers so it will blend better. Apply on the apple of the cheeks for a fresh look.


I adore black eyeliner on the upper lashline. So This is the "Long-Wear Gel Eyeliner".
I think it looks defined but not to hars. You can build it up to eihter a super thin line or a thik line for more drama.
This is only applyed with a eyeliner bursh or a angeld brush, whatever you prefer or have laying around.


This last thing has there been soo much raving about summer 2010 on youtube.....
Do I need to say moore? It speaks for it self...


Look at thoose colours.. WOW is everything I can say! And with the amazing quality of Urban Decay it can only be good! Cant wait to get!!!! AND! You get a mini primer potion and the double ended glide on pencil in Zero and Bourbon! Yaay! 


Naked Palette


I've just listend to this amazing song over and over while posting this.
Empire State of Mind - Jay-z ft. Alicia Keys


I cant wait to teel you guys about the trip! I'm SO excited!!!

see you soon,

xoxo Camille.